
Yoga Inversions
From Downward Dog to Headstand, explore key yoga inversions, proper alignment, modifications, and safety guidelines to build a balanced upside-down practice.
- Home
- Yoga Asanas
- Yoga Inversions
Understanding Yoga Inversions
Yoga inversions are poses where the head is below the heart or the legs are above the heart. They range from accessible restful shapes like Legs Up the Wall to challenging balances like Headstand and Forearm Stand. Inversions are used in yoga as a way to shift perspective, build strength, and encourage a calm, focused mind.
Many practitioners find that inversions help them feel refreshed and focused, and the poses build upper body and core strength. However, they must be approached with patience and proper preparation. Not all inversions suit every body or every day, and some health conditions require caution or avoidance.
| Pose Name | Sanskrit Name | Level | Primary Focus |
|---|---|---|---|
| Downward Facing Dog | Adho Mukha Svanasana | Beginner | Full body stretch, arm and leg strength |
| Legs Up the Wall | Viparita Karani | Beginner | Rest, gentle inversion, circulation |
| Shoulder Stand | Sarvangasana | Intermediate | Inversion, shoulder and core strength |
| Plough Pose | Halasana | Intermediate | Spine flexibility, hamstring stretch |
| Headstand | Sirsasana | Advanced | Balance, core, upper body strength |
| Forearm Stand | Pincha Mayurasana | Advanced | Shoulder stability, balance, core |
Key Inversion Poses
Downward Facing Dog (Adho Mukha Svanasana)
Downward Facing Dog is often practiced as a resting pose or a transition, but it is also a mild inversion. The head drops below the heart while the hips lift, creating length through the spine and a stretch through the back of the legs.
- Start on your hands and knees with wrists under shoulders and knees under hips.
- Tuck your toes and lift your hips up and back, straightening your legs as much as comfortable.
- Press firmly through your palms, spreading your fingers wide. Rotate your upper arms outward slightly so your inner elbows face each other.
- Let your head hang naturally, keeping your neck relaxed and your gaze between your legs or toward your navel.
- Hold for 5 to 10 breaths, then lower your knees to the floor to release.
Alignment cues: Keep hands shoulder-width apart, feet hip-width apart. Press the floor away and lift your sitting bones toward the ceiling. Engage your quadriceps and draw your belly in. Heels do not need to touch the floor; they can reach downward without force.
Common mistakes: Rounding the lower back, dumping too much weight into the wrists, hyperextending the elbows, and placing feet too close to the hands so the pose becomes short and cramped.
Modifications and props: Bend your knees generously if your hamstrings are tight. Place your hands on yoga blocks to reduce wrist strain. Practice with your heels against a wall for stability.
Cautions: Avoid or modify if you have wrist injury, severe carpal tunnel syndrome, or uncontrolled high blood pressure. During pregnancy, keep hips lower than shoulders after the first trimester, or practice with a chair.
Legs Up the Wall (Viparita Karani)
Legs Up the Wall is a restorative inversion that requires no muscular effort. It is often used at the end of a practice or any time you need to rest and reset.
- Sit sideways next to a wall with one hip touching the wall.
- Lower your back to the floor as you swing your legs up the wall. Your sitting bones should be close to the wall but not necessarily touching it.
- Adjust your distance so your legs feel comfortable and your lower back can release.
- Rest your arms by your sides, palms facing up, and close your eyes.
- Breathe slowly and hold for 5 to 15 minutes.
Alignment cues: Allow your legs to be straight but not rigid. If your hamstrings are tight, move your hips a few inches away from the wall. Let the natural curve of your lower back remain; do not force it flat.
Common mistakes: Forcing the legs straight, holding tension in the neck or jaw, and placing the hips too far from the wall so the legs fall outward or the lower back works too hard.
Modifications and props: Place a folded blanket or bolster under your hips to elevate the pelvis. Use a strap around your thighs to keep the legs together without effort. If lying flat is uncomfortable, place a bolster under your upper back and head.
Cautions: Avoid if you have glaucoma, hiatal hernia, or severe acid reflux. If you are pregnant, practice with the upper body elevated on a bolster and avoid lying flat on your back for long periods after the first trimester.
Shoulder Stand (Sarvangasana)
Shoulder Stand is often called the queen of asanas in traditional yoga texts. It inverts the whole body and requires shoulder flexibility and core strength.
- Lie on your back with your knees bent and feet on the floor.
- Press your arms into the floor and lift your legs up, then lift your hips off the floor, bringing your knees toward your chest.
- Bend your elbows and place your hands on your lower back for support, fingers pointing toward your spine.
- Walk your hands up your back, bringing your elbows shoulder-width apart, as you lift your legs toward the ceiling.
- Hold for 5 to 10 breaths, then slowly lower down with control.
Alignment cues: Keep your weight on the backs of your shoulders and upper arms, not on your neck. Your chin should be slightly tucked, but the back of your neck should remain soft and long. Stack your hips over your shoulders and your feet over your hips.
Common mistakes: Rolling onto the neck, letting the elbows splay wide, looking from side to side, and allowing the legs to fall forward or back.
Modifications and props: Place two or three folded blankets under your shoulders so your head is lower than your shoulders and your neck is free. Practice near a wall to help balance. You can also lift one leg at a time.
Cautions: Avoid if you have neck injury, high blood pressure, glaucoma, or heart conditions. Traditionally, many yoga schools advise against practicing Shoulder Stand during menstruation. Pregnancy requires an experienced teacher and props.
Plough Pose (Halasana)
Plough Pose is usually entered from Shoulder Stand. It provides a deep stretch for the spine and hamstrings while keeping the body inverted.
- From Shoulder Stand, keep your legs straight and slowly lower your feet behind your head toward the floor.
- Allow your toes to touch the floor if they can, keeping your legs active.
- Press your arms into the floor or interlace your hands behind your back and roll your shoulders under.
- Keep your hips stacked over your shoulders and your spine long.
- Hold for 5 to 10 breaths, then return to Shoulder Stand or slowly roll down.
Alignment cues: Keep your hips lifted, not sagging. If your feet do not reach the floor, do not force them. Instead, keep your legs parallel to the floor or use a chair or blocks for support.
Common mistakes: Rounding the upper back, forcing the feet down and compressing the neck, and letting the knees bend excessively while trying to reach the floor.
Modifications and props: Place your feet on a chair seat or a stack of blocks. Use a folded blanket under your shoulders as in Shoulder Stand. If your hamstrings are tight, bend your knees slightly and support your lower back with your hands.
Cautions: Avoid if you have neck issues, herniated disc, high blood pressure, or glaucoma. Practice with care if you have osteoporosis or spinal stenosis.
Headstand (Sirsasana)
Headstand is an advanced inversion that demands core strength, shoulder stability, and body awareness. It should be learned gradually, preferably with a qualified teacher.
- Kneel on the floor and interlace your fingers, placing your forearms on the mat with elbows shoulder-width apart. Your hands and forearms form a triangle.
- Place the crown of your head on the floor, with the back of your head resting against your interlaced hands.
- Straighten your legs and walk your feet toward your head until your hips are over your shoulders.
- Bend your knees and lift your feet off the floor, keeping your knees tucked toward your chest. Then straighten your legs upward.
- Engage your core, press your forearms down, and hold for 5 to 10 breaths or as long as comfortable.
Alignment cues: Keep most of your weight on your forearms, with only light pressure on your head. Your elbows should stay shoulder-width and not widen. Stack your hips over your shoulders and your feet over your hips. Draw your ribs in and lengthen your tailbone toward your heels.
Common mistakes: Putting too much weight on the head and neck, allowing the elbows to splay, arching the lower back, and kicking up with momentum instead of lifting with control.
Modifications and props: Practice with your back against a wall. Use a headstand bench or blocks under your forearms. Work on dolphin pose and forearm plank first to build strength. Lift one leg at a time rather than kicking.
Cautions: Avoid Headstand if you have neck injury, high or low blood pressure, glaucoma, heart conditions, or are pregnant. If you feel pressure in your head, ears, or eyes, come down immediately.
Forearm Stand (Pincha Mayurasana)
Forearm Stand is another advanced inversion that emphasizes shoulder and upper back strength. It requires open shoulders and a strong core.
- From Dolphin Pose, with forearms parallel and palms pressing down, walk your feet in toward your elbows.
- Lift one leg up into the air, keeping your hips square.
- Push off the floor with your bottom leg or lift it with control to bring both legs overhead.
- Bring your legs together and extend up through your heels, stacking your body over your shoulders.
- Hold for 5 to 10 breaths, then lower one leg at a time with control.
Alignment cues: Keep your forearms shoulder-width apart and parallel, not forming a triangle. Press your elbows and forearms firmly into the floor. Keep your gaze slightly forward between your hands, not up at your feet. Draw your front ribs in and avoid arching your lower back.
Common mistakes: Letting the elbows slide wide, arching the back into a banana shape, lifting the head and compressing the neck, and swinging the legs up with too much momentum.
Modifications and props: Practice with your heels against a wall, using the wall to catch your feet. Place a block between your hands to keep your forearms parallel. Use a strap around your upper arms to prevent elbows from splaying. Work on Dolphin Pose and forearm plank first.
Cautions: Avoid if you have shoulder injury, high blood pressure, glaucoma, or neck problems. Warm up thoroughly before attempting Forearm Stand.
Safety Notes and When to Be Careful
Inversions are not recommended for everyone. Before adding inversions to your practice, consult a healthcare provider if you have any of the following:
- High or low blood pressure
- Glaucoma or detached retina
- Recent surgery, especially on the neck, back, shoulders, or eyes
- Heart conditions or history of stroke
- Neck or spinal disc issues, including herniated discs or cervical spondylosis
- Pregnancy, especially after the first trimester, unless you have an experienced prenatal yoga teacher and clearance from your doctor
- Severe osteoporosis or spinal stenosis
Some traditional yoga schools also advise avoiding inversions during menstruation, although this is a personal choice and not a medical recommendation. Listen to your body and skip inversions on days you feel fatigued, dizzy, or unwell.
Always practice on a non-slip mat. Use a wall or props when learning new inversions. Never force your body into a pose or bounce. If you feel pressure in your head, ears, eyes, or neck, come out of the pose slowly and rest in Child’s Pose or Legs Up the Wall. After practicing inversions, take a few minutes in a neutral position such as Corpse Pose or Legs Up the Wall to allow your circulation to settle.
Progressions and Props
Inversions should be approached step by step. Start with gentle inversions like Legs Up the Wall and Downward Facing Dog before moving to Shoulder Stand and Plough. Only when you can hold Shoulder Stand with ease and without neck strain should you consider Headstand or Forearm Stand.
Props are invaluable for safe inversion practice:
- Yoga blankets: Folded blankets under the shoulders protect the neck in Shoulder Stand and Plough.
- Wall: A wall offers support and confidence for Headstand, Forearm Stand, and even Shoulder Stand.
- Blocks: Blocks under the hands in Downward Dog or under the feet in Plough can reduce strain and improve alignment.
- Strap: A strap around the upper arms prevents elbows from splaying in Forearm Stand.
- Bolster: A bolster under the hips in Legs Up the Wall or under the back in restorative variations adds comfort.
Remember that progress in inversions is not linear. Some days you may feel strong and balanced, other days not. Practice consistently, but without attachment to achieving the pose. The process of building strength, patience, and self-awareness is the real benefit.
Related Poses and Practices
Keep Reading
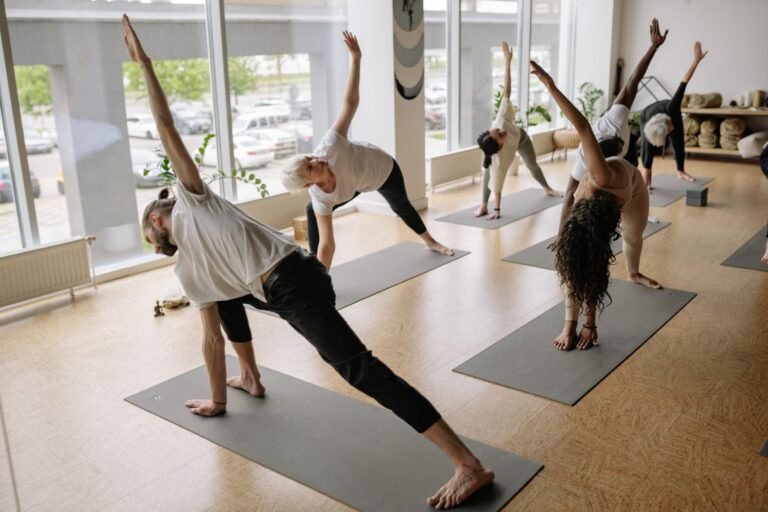
Learn foundational standing yoga poses with step-by-step instructions, alignment cues, and safety tips. From Mountain to Warrior III and Crescent…
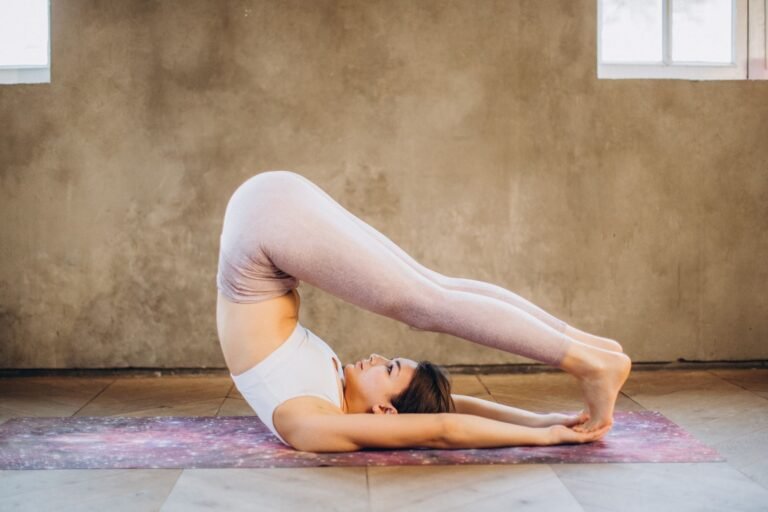
Learn safe forward bending poses: Paschimottanasana, Uttanasana, Janu Sirsasana, Prasarita Padottanasana and Child's Pose with alignment and spine…
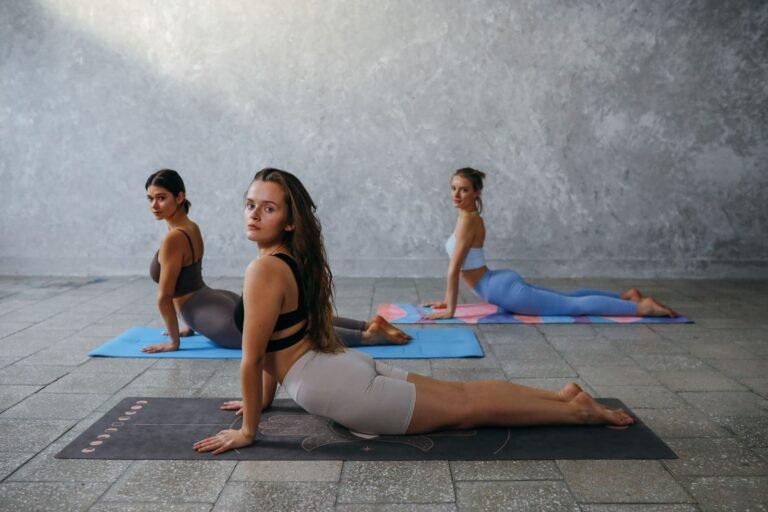
Learn cobra, sphinx, upward dog, bridge, camel, bow, and wheel pose with step-by-step instructions, safety tips, and counterposes.
New to Yoga?
Start with the basics and build a steady, safe practice
Our beginner guide covers your first class, practising at home and how to choose a style and teacher that suit you.