
Restorative Yoga Poses
Restorative yoga uses props to support the body in passive holds, encouraging deep relaxation. This guide covers four essential poses to help you unwind and reset.
- Home
- Yoga Asanas
- Restorative Yoga Poses
What Is Restorative Yoga?
Restorative yoga focuses on relaxation and recovery. The practice uses bolsters, blankets, blocks, and straps to support the body in comfortable positions for extended holds, often five to twenty minutes. By reducing physical effort, the body can shift from a state of stress to a state of rest. This supports the parasympathetic nervous system, which is associated with rest and digestion.
How Props Support Relaxation
Props are essential in restorative yoga. They allow you to maintain a pose without muscular effort, which helps you relax more deeply. Common props include:
- Bolsters: firm pillows that support the spine, hips, or legs.
- Blankets: provide cushioning and warmth, and help align the body.
- Blocks: offer height and stability for the head, hands, or feet.
- Straps: help hold limbs in place without strain.
When using props, aim for a sensation of comfort and support. If a prop feels uncomfortable, adjust it or add more padding.
Key Restorative Yoga Poses
The following four poses are staples of restorative practice. Each includes step-by-step instructions, alignment cues, common mistakes, and cautions.
Supported Child’s Pose (Salamba Balasana)
Supported child’s pose is a gentle forward fold that calms the mind and releases tension in the back, shoulders, and hips.
How to practice:
- Place a bolster lengthwise on your mat. If you do not have a bolster, stack two or three firm blankets.
- Kneel in front of the bolster with your knees wide, big toes touching.
- Lean forward and place your torso on the bolster. Turn your head to one side.
- Rest your arms alongside the bolster or stretch them forward on the floor.
- Allow your hips to sink toward your heels. If your hips do not reach, place a folded blanket between your hips and heels.
- Close your eyes and breathe slowly for 3 to 5 minutes. Turn your head halfway through.
Alignment cues: Keep your hips heavy and your neck long. Ensure there is no pressure on the throat or eyes.
Common mistakes: Rounding the spine excessively or forcing the hips down. If your forehead does not reach the bolster, add height.
Modifications and props: Use a blanket under the knees for comfort. Place a block under the far end of the bolster to create a gentle incline, which can help if you have sinus congestion or feel claustrophobic.
Cautions: If you have knee pain, place a rolled blanket behind the knees before folding. If you are pregnant, keep your knees wider and avoid compressing the belly.
Supported Bridge Pose (Salamba Setu Bandha Sarvangasana)
Supported bridge pose opens the chest and gently stretches the hip flexors while supporting the spine.
How to practice:
- Lie on your back with your knees bent and feet flat on the floor, hip-width apart.
- Press into your feet and lift your hips slightly, then slide a bolster or a stack of folded blankets under your sacrum (the flat bone at the base of the spine).
- Lower your hips onto the support. Your lower back and pelvis should feel fully supported.
- Straighten your legs one at a time, resting your heels on the floor. If that feels too intense, keep your knees bent with feet on the floor.
- Allow your arms to rest at your sides, palms up, or place them on your belly.
- Stay for 3 to 10 minutes, breathing naturally.
Alignment cues: Keep your chest open and shoulders relaxed away from the ears. The support should be under the sacrum, not the lower back curve. Your neck should be long and comfortable; use a thin pillow or folded blanket under the head if needed.
Common mistakes: Placing the bolster too high under the lower back, which can cause discomfort. Or keeping the legs straight when the hip flexors are tight, pulling on the lower back.
Modifications and props: Use a lower support if the stretch is too strong. Place a rolled blanket under the ankles if the heels are uncomfortable. For a deeper chest opener, add a folded blanket under the upper back, but only if the neck remains neutral.
Cautions: Avoid this pose if you have a recent back injury or if you experience any pain in the lower back. If you have glaucoma or uncontrolled high blood pressure, keep the head elevated and consult a qualified instructor.
Reclined Bound Angle Pose (Supta Baddha Konasana)
Reclined bound angle pose gently opens the hips and groins while encouraging deep relaxation.
How to practice:
- Place a bolster lengthwise on your mat, with one end near your hips.
- Sit in front of the bolster with your knees bent and the soles of your feet together, knees falling out to the sides.
- Place a folded blanket under each knee for support if your knees do not rest comfortably on the floor.
- Lie back onto the bolster. Adjust the bolster so it supports your spine from your tailbone to your head. Use a folded blanket under your head if the bolster is too low or too high.
- Rest your arms on the floor at your sides, palms up, or place one hand on your belly and one on your chest.
- Close your eyes and breathe slowly for 5 to 15 minutes.
Alignment cues: Keep your pelvis neutral and avoid arching the lower back excessively. The knees should feel supported, not strained. If you feel any groin or knee pain, add more height under the knees.
Common mistakes: Letting the knees hang without support, which can strain the inner thighs. Or allowing the lower back to overarch when lying back.
Modifications and props: Use a strap around the feet and lower back to keep the legs in place without effort (loop a strap around the lower back, then around the feet, adjusting so the knees are comfortable). Place a sandbag on each thigh for a grounding effect.
Cautions: If you have a groin injury or knee issues, keep the knees well supported and avoid a wide opening. If you are pregnant, lie on a higher incline rather than flat on your back after the first trimester.
Corpse Pose (Savasana)
Savasana is the classic relaxation pose, usually practiced at the end of a session. In restorative yoga, it is held with extra support for complete comfort.
How to practice:
- Lie on your back with your legs extended and slightly apart, arms at your sides a few inches from your body, palms up.
- Place a folded blanket under your head so your forehead is slightly higher than your chin; this helps the neck relax.
- Place a bolster or rolled blanket under your knees to release the lower back.
- Optionally, place a folded blanket over your belly or a soft eye pillow over your eyes.
- Allow your whole body to become heavy. Let your breath flow naturally without trying to control it.
- Stay for 10 to 20 minutes. To come out, gently wiggle your fingers and toes, roll to one side, and pause before slowly sitting up.
Alignment cues: Keep your spine neutral, shoulders released, and jaw soft. Ensure your head is supported but not tilted back.
Common mistakes: Lying without any support under the knees, which can cause lower back tension. Or clenching the jaw or hands.
Modifications and props: If you are uncomfortable on your back, try a side-lying savasana with a bolster between the knees. If you feel cold, cover yourself with a blanket.
Cautions: If you are in your third trimester of pregnancy, lie on your left side instead of your back. If you have breathing difficulties, elevate your head and chest slightly with a bolster.
Summary Table
Here is a quick reference for the four poses covered in this article.
| Pose Name | Sanskrit Name | Level | Primary Focus |
|---|---|---|---|
| Supported Child’s Pose | Salamba Balasana | Beginner | Back, hips, nervous system |
| Supported Bridge Pose | Salamba Setu Bandha Sarvangasana | Beginner | Chest, hip flexors, spine |
| Reclined Bound Angle Pose | Supta Baddha Konasana | Beginner | Hips, groins, relaxation |
| Corpse Pose | Savasana | Beginner | Full-body rest, integration |
Safety Notes and When to Be Careful
Restorative yoga is generally safe for most people, but it is important to practice with awareness.
- Always listen to your body. If a pose causes pain, discomfort, or difficulty breathing, come out and adjust your props or skip the pose.
- If you have any medical conditions, injuries, or are pregnant, consult your healthcare provider before starting a restorative practice. Work with a qualified yoga instructor who can offer personalized guidance.
- Use enough props to feel completely supported. Restorative yoga is not about stretching to your edge; it is about finding ease.
- For supported bridge pose, avoid if you have a recent back injury, uncontrolled high blood pressure, or glaucoma. Keep the head elevated if you have any concerns.
- In reclined bound angle, support the knees generously to protect the groins and knees.
- For savasana, if lying on your back is uncomfortable, try a side-lying position or elevate your upper body.
How to Build a Restorative Practice at Home
You do not need a lot of equipment to practice restorative yoga. A few firm blankets, a couple of pillows, and a quiet space are enough to begin.
Start with one or two poses for 10 to 15 minutes total, and gradually add more time as you become comfortable. Practice in a warm, dimly lit room. Use an eye pillow or a soft cloth over your eyes to reduce visual stimulation. Let your phone be silent and away from your mat.
Remember that restorative yoga is not about achieving a shape but about allowing the body to release. The slower you go, the more benefit you may notice.
For more guidance on yoga poses, explore our yoga poses index. You can also learn about standing yoga poses to build strength, or forward bending poses to complement your restorative practice.
For additional information on relaxation techniques, you may visit the National Center for Complementary and Integrative Health (NCCIH) at NCCIH relaxation techniques.
Keep Reading
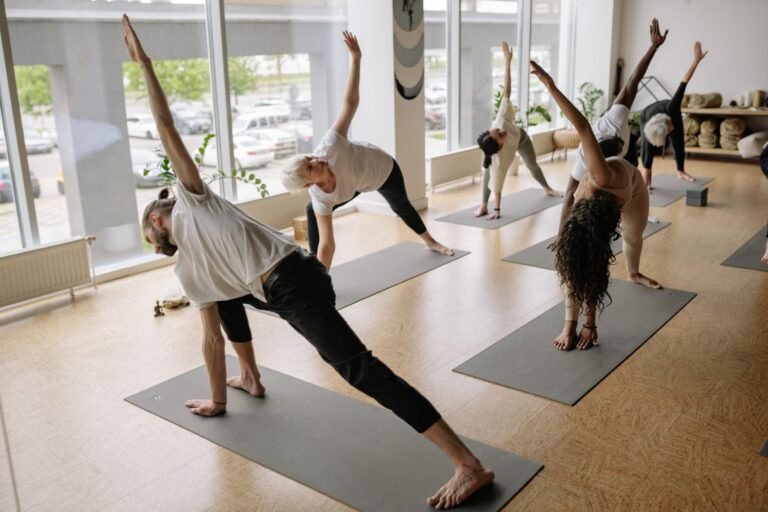
Learn foundational standing yoga poses with step-by-step instructions, alignment cues, and safety tips. From Mountain to Warrior III and Crescent…
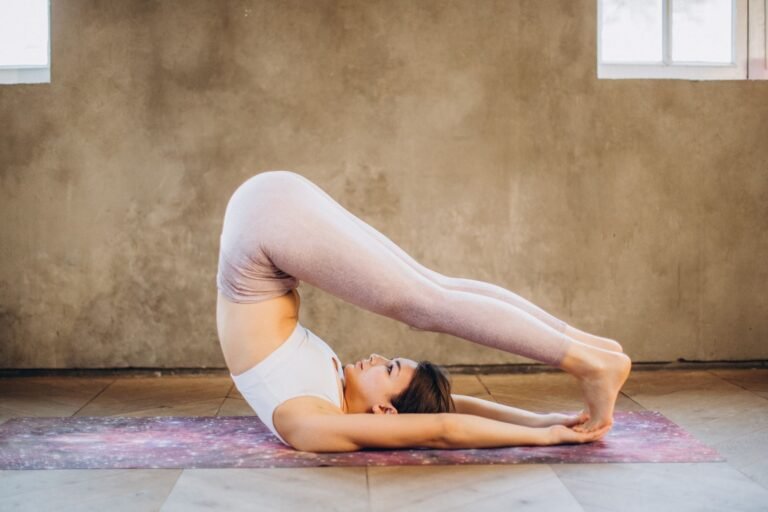
Learn safe forward bending poses: Paschimottanasana, Uttanasana, Janu Sirsasana, Prasarita Padottanasana and Child's Pose with alignment and spine…
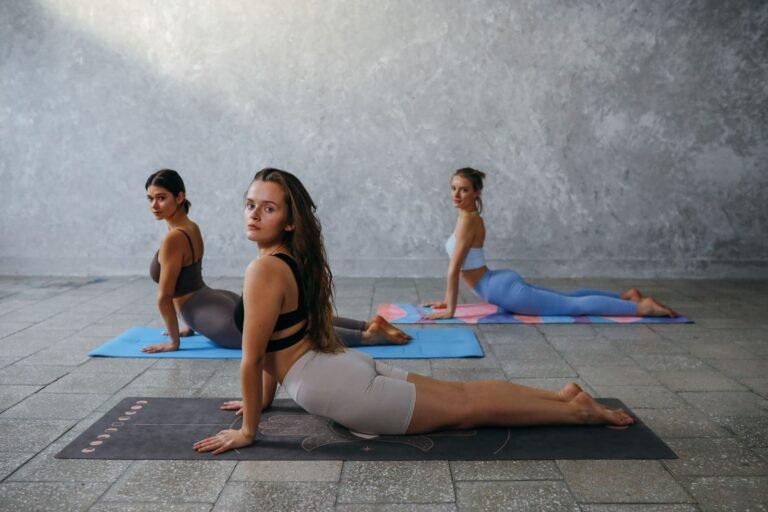
Learn cobra, sphinx, upward dog, bridge, camel, bow, and wheel pose with step-by-step instructions, safety tips, and counterposes.
New to Yoga?
Start with the basics and build a steady, safe practice
Our beginner guide covers your first class, practising at home and how to choose a style and teacher that suit you.