
Core Yoga Poses: Boat, Plank, Dolphin and Forearm Plank
Your core is more than visible abdominals. These foundational yoga poses build deep stability, support your spine, and teach you to move with integrated strength from your center.
- Home
- Yoga Asanas
- Core Yoga Poses
What Is the Core in Yoga?
Many students think of the core as the visible abdominal muscles, often called the six-pack. In yoga, the core is understood as a three-dimensional cylinder of support that wraps around your entire midsection. It includes the deep transversus abdominis, the internal and external obliques, the rectus abdominis, the pelvic floor, the diaphragm, and the muscles along the spine such as the multifidus. Together these muscles stabilize your pelvis, support your lower back, and transfer force between your upper and lower body. When you practice core yoga poses, you are not just training for a flat stomach. You are learning to move from a stable, responsive center.
Breathing and Core Engagement
Breath is the starting point for all core work in yoga. On an inhalation, the diaphragm descends, the ribs expand, and the abdominal wall gently stretches. On an exhalation, the diaphragm releases upward, the ribs draw together, and the deep abdominals naturally tone. This is why many yoga cues invite you to draw the navel toward the spine as you exhale. The engagement should feel like a gentle hug around the midline, not a hard gripping. Holding the breath increases pressure and creates tension in the neck and jaw. Instead, keep breathing smoothly through the nose, and let each exhale help you find deeper stability.
Pose Summary Table
| Pose Name | Sanskrit Name | Level | Primary Focus |
|---|---|---|---|
| Boat Pose | Paripurna Navasana | Intermediate | Abdominals, hip flexors, balance |
| Plank Pose | Phalakasana | Beginner to Intermediate | Full-body stability, shoulders, core |
| Dolphin Pose | Ardha Pincha Mayurasana | Intermediate | Shoulders, hamstrings, core |
| Forearm Plank Variations | Phalakasana variation | Intermediate | Deep core, shoulder girdle, endurance |
Core Yoga Poses
Boat Pose (Paripurna Navasana)
Boat Pose is a seated balancing pose that challenges the hip flexors and the abdominal muscles while teaching you to keep the spine long. It is an excellent pose for building heat and focus.
- Sit on your mat with your knees bent and your feet flat on the floor.
- Place your hands behind your knees, lift your chest, and lean back slightly without rounding your lower back.
- Shift your weight onto your sitting bones, then lift your feet off the floor until your shins are parallel to the mat.
- Release your hands and extend your arms forward alongside your legs, palms facing each other.
- If you feel stable, slowly straighten your legs to form a V shape with your body.
- Hold for 5 to 10 smooth breaths, then lower your feet with control.
Alignment cues: Keep your spine long and your chest lifted. Draw your low belly in and up without hardening. Roll your shoulders down away from your ears. Soften your gaze forward. Keep your knees bent if your hamstrings or hip flexors feel tight.
Common mistakes: Rounding the lower back and collapsing the chest, holding the breath, gripping the neck, and dumping weight into the hip flexors. Also avoid lifting the shoulders toward the ears.
Modifications and props: Keep the knees bent and hold the backs of your thighs. Use a yoga strap looped around the balls of your feet to help extend your legs. Sit on a folded blanket to tilt the pelvis forward and reduce lower back strain. For a gentler option, keep the toes on the floor and slide the feet forward without lifting.
Cautions: Approach with care if you have a lower back injury or recent abdominal surgery. Pregnant students should keep the feet down or work with a qualified prenatal instructor. Stop if you feel sharp pain in the lower back or hip joints.
Plank Pose (Phalakasana)
Plank Pose is a full-body stabilizer that strengthens the arms, shoulders, legs, and core. It is often used as a transition between poses, but it deserves attention as a core pose in its own right.
- Begin on your hands and knees with your wrists directly under your shoulders and your knees under your hips.
- Step your feet back one at a time and tuck your toes under.
- Lift your knees off the floor and press the floor away with your hands.
- Firm your legs and reach your tailbone toward your heels so your body forms one line from head to heels.
- Gaze slightly forward, keeping the back of your neck long.
- Hold for 5 to 10 breaths, then lower your knees to release.
Alignment cues: Spread your fingers wide and press through the base of each finger. Keep your elbows straight but not locked. Engage the front of your thighs and rotate your inner thighs slightly upward. Draw your low belly toward your spine without tucking your tailbone too far under. Keep your shoulders stacked over your wrists.
Common mistakes: Sagging the hips, lifting the hips too high, walking the hands too far forward, and letting the shoulder blades collapse. Also avoid holding the breath or clenching the jaw.
Modifications and props: Drop your knees to the floor for a supported half plank. Place a folded blanket under your knees for cushioning. If your wrists are sensitive, practice on your forearms instead. You can also place your hands on blocks or a chair seat to reduce wrist extension.
Cautions: Use caution with wrist injuries, carpal tunnel syndrome, or shoulder pain. If you have uncontrolled high blood pressure, avoid holding the breath and keep the pose shorter. Stop if you feel numbness or sharp pain.
Dolphin Pose (Ardha Pincha Mayurasana)
Dolphin Pose is a forearm variation of Downward Facing Dog. It opens the shoulders, lengthens the hamstrings, and strengthens the deep core while giving the wrists a break.
- Begin on your hands and knees in a tabletop position.
- Lower your forearms to the mat. Place your elbows shoulder-width apart with your hands interlaced or your forearms parallel.
- Tuck your toes under and lift your hips up and back, as in Downward Facing Dog.
- Extend your legs as much as feels comfortable and press your chest lightly toward your thighs.
- Keep your head off the floor and your gaze toward your feet.
- Hold for 5 to 10 breaths, then lower your knees to the mat to release.
Alignment cues: Keep your elbows under your shoulders and press your forearms firmly into the mat. Lift your shoulder blades away from your ears and broaden across your upper back. Lengthen your spine and let your heels be heavy or slightly lifted. Draw the front of your ribs in and engage your core to prevent your lower back from sinking.
Common mistakes: Letting the chest sink between the shoulder blades, allowing the head to hang heavily, rounding the back excessively, and walking the feet too close to the hands. Also avoid holding the breath when the shoulders feel challenged.
Modifications and props: Keep your knees bent if your hamstrings are tight. Place a block between your hands to keep your forearms parallel and prevent the elbows from splaying. Use a strap around your upper arms to maintain shoulder-width distance. For a gentler version, practice with your forearms on a wall or chair seat.
Cautions: Because Dolphin Pose places the head below the heart, avoid it if you have glaucoma, a detached retina, uncontrolled high blood pressure, or a recent head injury. Use caution with shoulder impingement or rotator cuff issues. If you feel pressure in the head or eyes, come out and rest.
Forearm Plank Variations
Forearm Plank, sometimes called Dolphin Plank, is a strong core and shoulder stabilizer. Placing the forearms on the floor reduces wrist extension and often allows you to hold the pose longer to build endurance.
- From your hands and knees, lower your forearms to the mat.
- Clasp your hands lightly or keep your forearms parallel, with your elbows directly under your shoulders.
- Step your feet back and tuck your toes under.
- Lift your knees and extend through your legs so your body forms one straight line.
- Press your forearms down actively and lift the front of your pelvis toward your ribs.
- Hold for 5 to 10 breaths, then lower your knees and rest in Child’s Pose.
Alignment cues: Keep your elbows under your shoulders and your forearms active. Firm your legs and reach your tailbone toward your heels. Draw your low ribs together and keep your neck long with your gaze slightly forward. Do not let your hips sag or pike upward.
Common mistakes: Hips dropping too low or rising too high, elbows sliding forward of the shoulders, lower back swaying, and head dropping toward the floor. Also avoid tensing the shoulders up around the ears.
Modifications and props: Drop your knees for a supported forearm plank. Place a folded blanket under your forearms for comfort. Reduce the hold time to 3 to 5 breaths if you are building strength. For wrist and shoulder support, practice on a firm, level surface.
Cautions: Avoid if you have acute shoulder or elbow pain. With low back issues, keep your knees down and focus on pelvic stability. Stop if you feel pinching in the front of the shoulder or numbness in the arms.
Variations to build core strength
- Forearm plank with knee tap: From the base pose, lower one knee toward the floor without shifting your hips. Tap lightly and lift back up. Alternate sides for 6 to 10 slow taps.
- Forearm plank with hip dips: From the base pose, slowly rotate your hips to one side and then the other, keeping your shoulders stable and your feet on the mat.
- Side forearm plank: Turn onto one forearm, stack or stagger your feet, and lift your hips. Extend your top arm toward the ceiling or keep it on your hip. Hold each side for 3 to 5 breaths.
- Forearm plank with leg lift: From the base pose, lift one foot a few inches off the floor without letting your hips shift. Lower and switch sides.
Putting the Poses Together
You can practice these core poses as a short sequence or add them to a larger session. Begin with 2 to 3 minutes of deep breathing in a comfortable seat or on your back. Warm up with Cat-Cow and a gentle Downward Facing Dog. Then move through Boat Pose, Plank Pose, Dolphin Pose, and Forearm Plank, holding each for 5 to 10 breaths. Rest in Child’s Pose between rounds. Repeat the sequence two or three times, and finish with a gentle supine twist or Savasana. The key is consistent, mindful engagement rather than maximum effort.
Safety Notes and When to Be Careful
Core yoga poses are generally accessible, but they are not appropriate for everyone at every stage. Keep these guidelines in mind:
- Talk to a doctor or qualified yoga instructor before beginning if you have recent surgery, abdominal separation, a herniated disc, or uncontrolled blood pressure.
- Be cautious during pregnancy and the postpartum period. Modifications such as keeping the knees down or avoiding deep core compression may be necessary.
- Avoid holding your breath in any core pose. If you notice jaw tension, lightheadedness, or a throbbing sensation in your head, rest and return to natural breathing.
- Never force a pose through sharp pain. A sensation of effort in the muscles is normal, but joint pain, numbness, or burning is a signal to stop.
- Use props such as blankets, blocks, and straps. They are tools for alignment, not signs of weakness.
- If you have glaucoma, a detached retina, or other eye conditions, avoid poses where the head is below the heart, such as Dolphin Pose.
Related Pages on About Yoga
To continue exploring yoga asanas, visit these guides:
- Browse the full asana library for detailed pose instructions.
- Standing yoga poses can help you build strength and balance from the ground up.
- Forward bending poses offer a complementary focus on length and core support.
Keep Reading
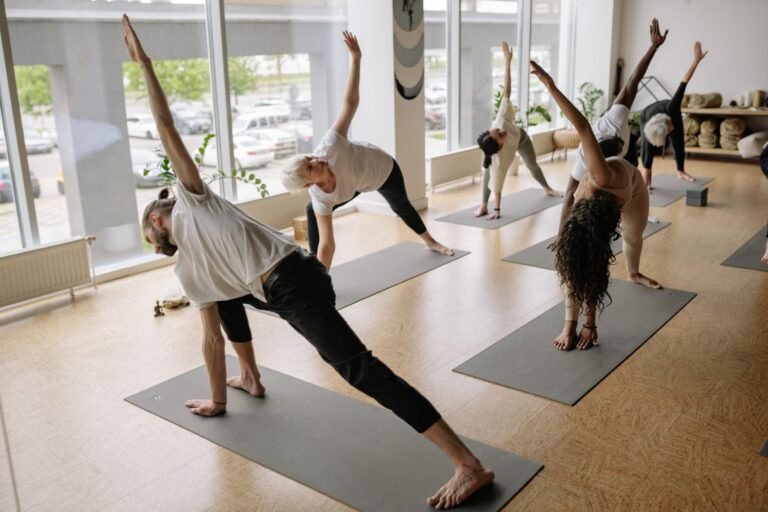
Learn foundational standing yoga poses with step-by-step instructions, alignment cues, and safety tips. From Mountain to Warrior III and Crescent…
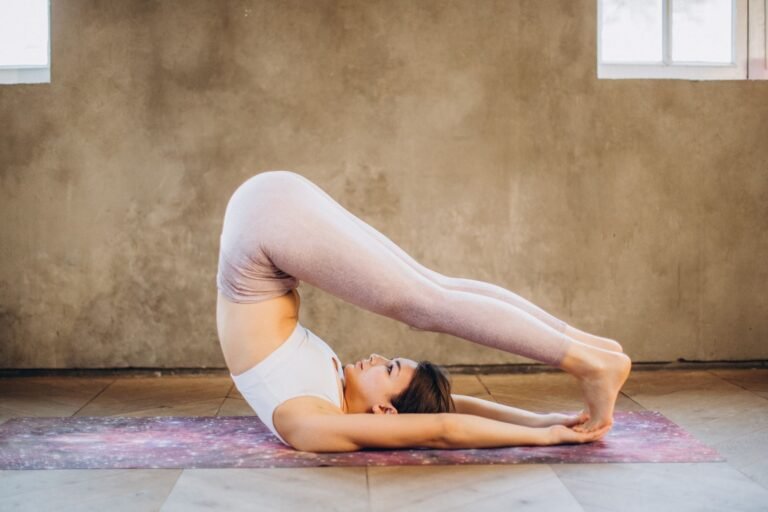
Learn safe forward bending poses: Paschimottanasana, Uttanasana, Janu Sirsasana, Prasarita Padottanasana and Child's Pose with alignment and spine…
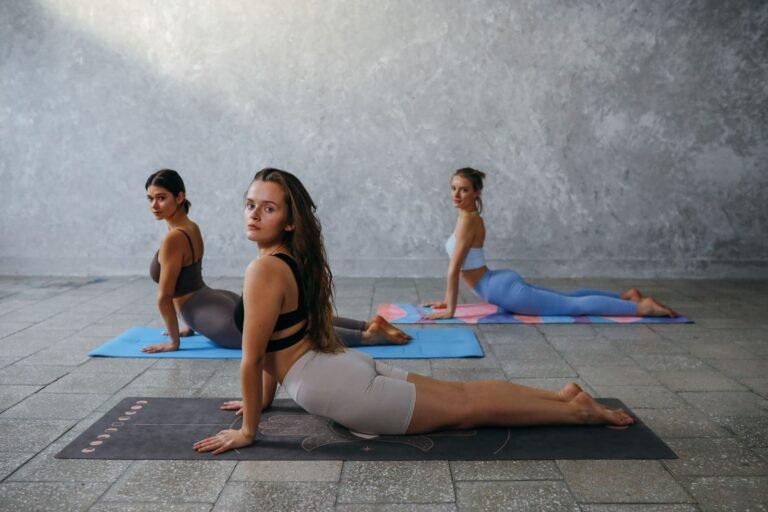
Learn cobra, sphinx, upward dog, bridge, camel, bow, and wheel pose with step-by-step instructions, safety tips, and counterposes.
New to Yoga?
Start with the basics and build a steady, safe practice
Our beginner guide covers your first class, practising at home and how to choose a style and teacher that suit you.